Printing a functional object can be tedious. Experienced users know. There are many caveats to outputting a great print. One of the most effective methodologies for getting good prints is focusing on design. Designing an object specifically for 3D printing will provide better all around results as compared to a design that has not taken 3D printing into consideration. Design for printability (DFP) is a conceptual framework for designing objects for printing. If you are not a designer, this series will promote better judgement in regards to your choice of virtual object and approach to printing. At the very least, you the reader, will walk away with a better understanding of 3D printing in general.
For all 3D printing enthusiasts and technologists, the central focus of 3D printing is to make a virtual object a tangible one, plane and simple. Printing better objects that more closely resemble the virtual objects is critical to your happiness as a maker and business as a professional.
Fused Deposition a sometimes fickle pursuit.
The most commonly used printing type is Fused Deposition Modelling (FDM) at the time of this writing. The FDM type printer works by depositing molten plastic (ABS, PLA, Nylon etc..) in fused layers. These fused layers are deposited in thin strips, by a heated nozzle. Four or more motors need to work in concert with drive mechanisms to move the nozzle quickly and precisely. The variables of speed, direction, feed, plastic type, nozzle temperature, nozzle diameter and bed temperature are things to consider tweeking as one becomes more deliberate in their approach to printing.
We are going to focus on model geometry for this first lesson. It is an easy and effective way to derive better results from your FDM unit. I have created a few simple scenarios wherein design can provide marked improvements.
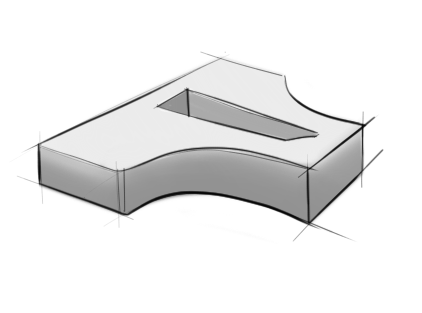
Example 1: Single Extrusion shapes

Single direction extruded shapes are the most simple to make. Many software packages now include an extrude feature. Printing a simple extruded object with the largest face of the object laying on the bed will give great results. The benefits are: Better bed adhesion, more accurate dimensioning, better surface finish, less warping or skewing, longer and more fluid movements of the printer head with less stopping and redirecting. This is all good and great, however, this is not where 3D printing shines.
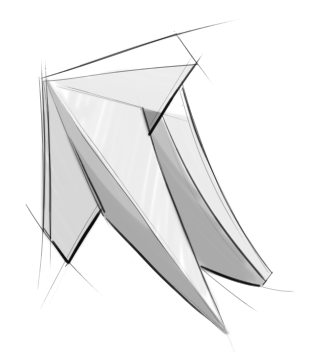
Example 2: Multi faceted shapes

I am referring to objects/models that have faces that are angled away from either X,Y or Z axis. This is where things can get tricky. When designing multi faceted parts, consider reducing over hangs by splitting up parts, so that they have a large flat face. If you were to print a sphere, it would make a world of difference to split that object into two hemispheres. If split in two, both hemispheres would have zero overhang with the added benefit of a nice flat equator for gluing.
At the very least, you are going to print a multi faceted extruded shape.
At the very least, you are going to print a multi faceted extruded shape.
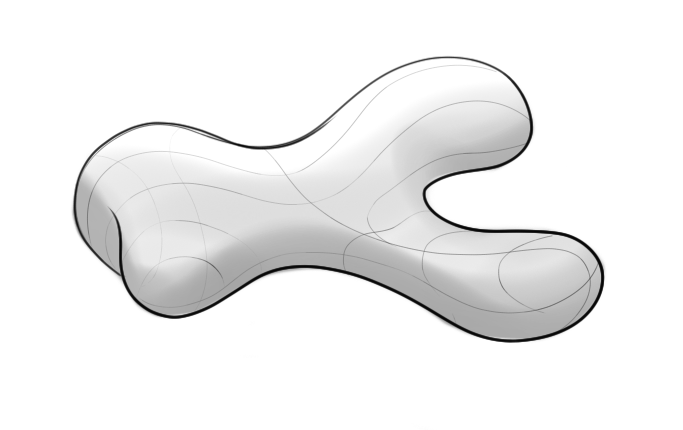
Example 3: Amorphous shapes

Amorphous shapes are the trickiest shapes to print because they have topological information that must be optimized. Using example 1 and 2 will help one to judge optimal slicing and orientation. Disregard having a large flat face to sit on the bed if it will effect the kind of topology you plan to accentuate. Focus on the direction of topology and work your way back to slicing.
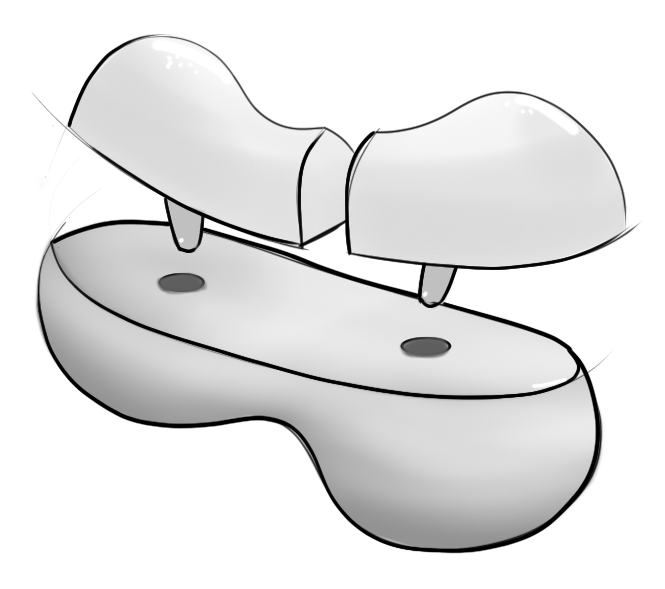
Example 4: Modular parts

If you are more advanced 3D modeller, it can be very advantageous to consider modularity when designing. Try implementing custom joinery for aligning and fastening parts. This strategy can sometimes allow for better placement on the printing surface thereby increasing available print volume.
In summary, the next time you sit down to design an object that is bound to be 3D printed with an FDM unit, think to yourself, can I tweak the design to get better output?


