Getting great bed adhesion
Everything seems ok at first but you leave the room for 5 minutes only to come back to a mess of filament and a dislodged print. Your print is ruined, you have to start over and this time with the constant worry if the print will fail or not. Bed adhesion and getting those first layers to stick are critical to your success at printing. Everything starts with the first layer, the foundation if you will of your printing.
PEI print surface
PEI (polyetherimide) is a surface that makes your 3D prints stick better to the print platform. It makes the use of rafts (see below) redundant. It mostly comes in the form of a sheet that you attach on for instance a glass bed. PEI sheets are available on [easyazon_link identifier=”B018G59B82″ locale=”US” popups=”n” tag=”3dpri0ca-20″ cart=”n” popups=”n”]Amazon[/easyazon_link].
BuildTak
I have been using BuildTak for a few months now and thus far it sticks extremely well, almost too well. After contacting support they recommended me to find ‘the sweet spot’. It is crucial that you discover the optimal nozzle height for your 3D printer and settings. Here are some tips:
- Start leveling at a safe nozzle height of about .25mm (or the thickness of a typical business card) and run a test print, paying close attention to the first layer. To find the sweet spot, it is always better to start with the nozzle height higher than what you might be used to with other solutions.
- Changing your nozzle temp, material used, print speed, et cetera may require re-discovery of the optimal nozzle height.
If after reading this post and you still have adhesive problems, BuildTak will fix it. Just explicitly follow their setup instructions with little to no first layer squish otherwise your print will become part of your printer. BuildTak sheets are available in different sizes on [easyazon_link identifier=”B00MN5X2YG” locale=”US” popups=”n” tag=”3dpri0ca-20″ cart=”n” popups=”n”]Amazon[/easyazon_link].
update
BuildTak has recently launched their new FlexPlate System. It promises to make print removal much easier. Read everything about it in this post.
BuildTak has recently launched their new FlexPlate System. It promises to make print removal much easier. Read everything about it in this post.
Print bed additives (tape, glue stick and hairspray)
A lot of people are using a variety of things applied to their print bed to get better adhesion. We are seeing things like painters tape, hairspray, glue sticks etc applied to the bed in hopes the print will stick. I don’t use any of these as I feel it’s not consistent or reliable and typically just makes a mess to clean up.

I only use Kapton tape and sometimes a self made acetone/ABS mixture. Kapton tape has many uses in the lab. It’s functional between −269 to +400 °C, is used in space and also adheres very well under water among several other attributes.
To apply the tape you’ll need to remove the glass from the build plate and apply the tape underwater or with a spray bottle and water. Get a plastic tub big enough to accommodate the glass build plate, fill with water and cut some lengths of Kapton tape and apply under the water. Be sure that there are no bubbles under the tape before applying and carefully line up the lengths of tape against each other and press down.
Its also recommended to use a plastic scraper to press the tape down against the glass to get a bubble free layer. Hold the scraper at a diagonal and run gently along the the length of the tape. If you mess up you can just peel off and try again with little worries.
Its also recommended to use a plastic scraper to press the tape down against the glass to get a bubble free layer. Hold the scraper at a diagonal and run gently along the the length of the tape. If you mess up you can just peel off and try again with little worries.
Most times I only use the Kapton tape but for some ABS builds that have little surface contact with the build plate I use ABS juice. Unfortunately this ABS/acetone mix is highly flammable, noxious off-gases, corrosive and very sticky.
I built a ventilated, thermally regulated enclosure for ABS printing. So if your clumsy and don’t have a well ventilated area, maybe hold off on the ABS/acetone for now. If you still want to make the mix it’s just a matter of dissolving ABS plastic in acetone until it gets creamy, viola you have ABS juice.
I built a ventilated, thermally regulated enclosure for ABS printing. So if your clumsy and don’t have a well ventilated area, maybe hold off on the ABS/acetone for now. If you still want to make the mix it’s just a matter of dissolving ABS plastic in acetone until it gets creamy, viola you have ABS juice.
Getting proper Squish and bed Calibration

Depending on your printer you will need to learn how to level the print bed for that particular printer first. Don’t cut corners on this, take the time to get each corner perfect and locked in.
Some people use a sheet a paper and many printer manufactures recommend it this way however I use a business card. The business card which is .35mm-.36mm in thickness should be of smooth finish and a non-inked surface facing up to make contact with the hot-end. Also a business card is far easier to handle and more rigid then a sliver of paper.
Now heat up your build plate and extruder hot-end to calibrate and fine tune the printer. Obviously differing materials contract and expand differently at different temperatures. You want to replicate your actual printing environment to get really accurate results.
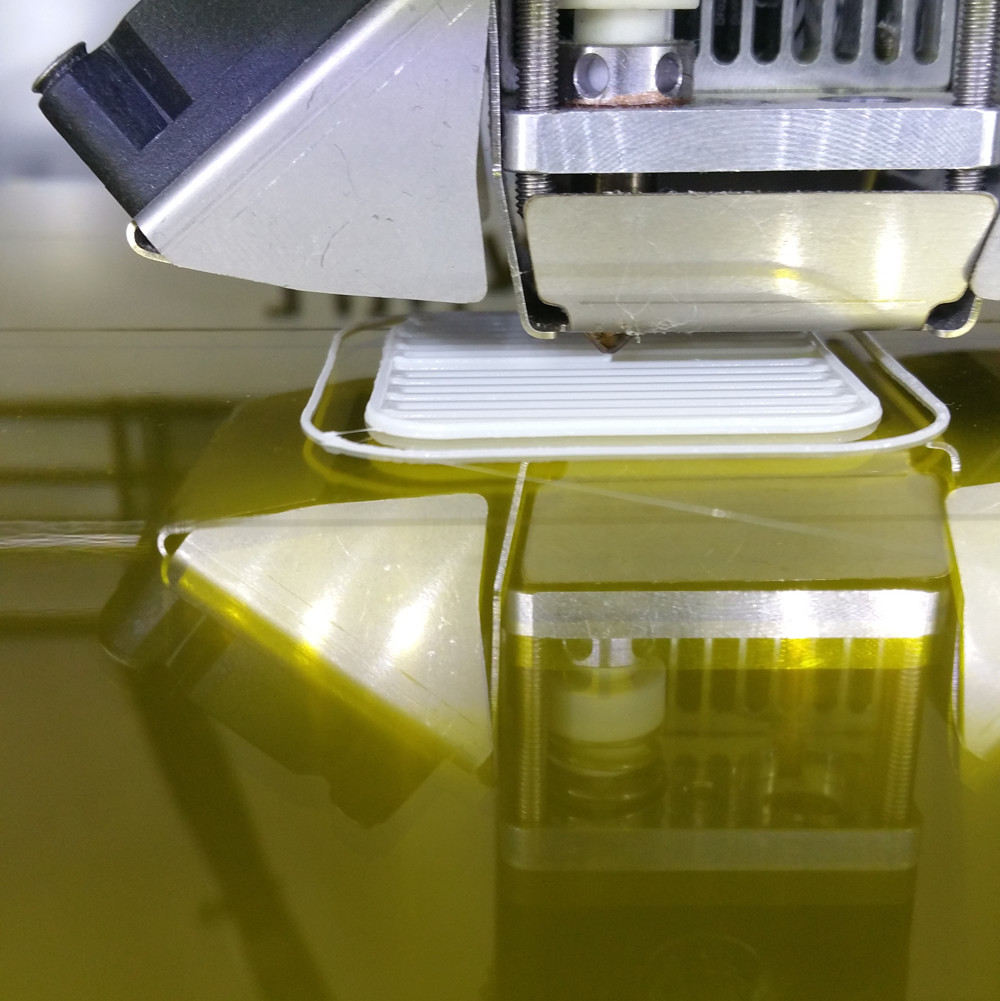
Furthermore the business card needs to be of non-inked surface because the hot-end will melt and pull of the finish or ink of the card. After you finish levelling it’s time to test print and adjust your G-code or Z axis off-set accordingly to get good squish on the first layer. The first layer of plastic should be flattened in appearance but not so thin to become transparent.

Now we are printing reliably with some good quality filament and good bed adhesion. You should be able to print 30-40 hour prints with little worry provided you have enough filament on the spool of course.


